
Are you ready to elevate your grilling game? Whether you’re a weekend warrior or a summer BBQ aficionado, there’s nothing quite like the smoky flavor and sear marks that only a charcoal grill can provide. However, we must admit that mastering your grill can sometimes seem like an overwhelming task.
From inconsistent temperatures to that dreaded ash cloud that leaves you sneezing, it’s easy to get overwhelmed. Fear not, fellow grillers! Today, we’re diving into some simple yet effective fixes for the most common charcoal grilling issues.
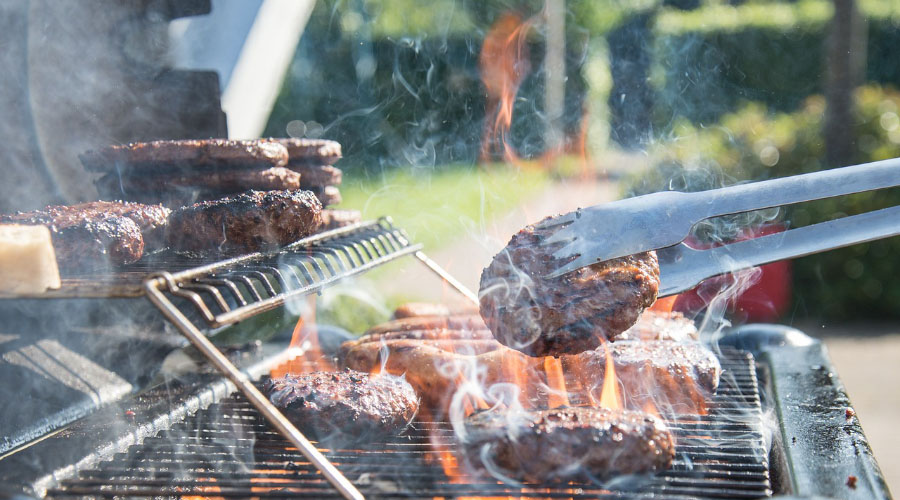
With a few tips and tricks up your sleeve, you’ll be flipping burgers and grilling kebabs like a pro in no time. So, grab your tongs and let’s fire up that grill—it’s time to conquer the charcoal chaos!
Understanding Your Charcoal: Choosing the Right Type for Perfect Flavor
When it comes to grilling, not all charcoal is created equal. The type of charcoal you choose can significantly impact the flavor profile of your food, so it’s essential to pick the right one for your grilling needs. Here’s a swift rundown of the most popular types:
- Binchotan: Known as Japanese white charcoal, it burns hot and clean with minimal smoke. This type is perfect for achieving that delicate, smoky flavor without overwhelming your meat.
- Wood Charcoal: Often made from various types of hardwood, this charcoal adds a robust, smoky flavor to your dishes. Different woods contribute distinct tastes, such as hickory for a strong flavor or applewood for a milder, sweeter touch.
- Charcoal Briquettes: These are the most common type found in stores. They are typically made from compressed sawdust and additives. While they light easily and burn consistently, they may not provide the same depth of flavor as lump charcoal.
- Lump Charcoal: Made from hardwood without any chemicals, lump charcoal ignites faster and burns hotter than briquettes. It tends to impart a more natural flavor and is favored by many serious grillers.
Choosing the right type can make a world of difference. If you want to experiment with flavors, consider mixing different charcoals or adding flavored wood chips to your grilling setup. remember,the right charcoal is your secret ingredient to turning ordinary dishes into unusual culinary experiences!
Lighting Your Charcoal Like a Pro: Tips for a Quick and Even Burn
Getting your charcoal lit efficiently can seem like an art form, but with a few strategic moves, you’ll have those coals glowing in no time. Start by choosing the right fuel; natural lump charcoal tends to light faster and produces less ash than briquettes. To ignite those coals like a pro, consider these tips:
- Use a Chimney Starter: This simple device allows for even airflow and gradually heats the coals, resulting in a uniform burn. Fill it with charcoal, place newspaper or kindling at the bottom, and light it up.
- Add a drizzle of cooking oil: If you prefer lighter fluid, opt for an eco-friendly version; alternatively, a small amount of vegetable oil can enhance the burn when mixed with your lighter material.
- Keep It Dry: Moisture is your enemy. Ensure your charcoal is stored in a dry place to avoid clumping and dampness that could hinder ignition.
If you find that your coals aren’t igniting evenly, check for airflow. Arranging your charcoal in a pyramid shape or using a “T” method can encourage better ventilation. Another tip: Let it burn for about 20-30 minutes until the coals are covered in white ash before placing them in the grill. This ensures your starting with the optimal temperature for searing, roasting, or smoking your favorites.
Managing temperature: How to Control Heat for Perfectly Grilled Food
Controlling heat when grilling is the key to achieving that perfectly charred, juicy flavor we all crave. Understanding how to manipulate your charcoal fire can elevate your outdoor cooking game significantly. Here are some effective strategies to ensure your food is grilled to perfection:
- Identify Your Zones: Create different cooking zones on your grill by spreading the coals unevenly. This allows you to sear meats over high heat while moving them to a cooler side for indirect cooking. A two-zone fire is your best friend!
- Breathe Easy: Oxygen is essential for maintaining fire. Adjust the vents on your grill to control airflow. Opening them increases the temperature, while closing them reduces it. Experiment until you discover the ideal temperature for your preferred cooking method.
- Use a thermometer: Invest in a good grill gauge to monitor internal temperatures. This helps you avoid guesswork and ensures your meats reach the appropriate temperature for safe consumption.
Don’t forget the importance of lid position! Keeping the lid closed traps heat and smoke, enhancing flavor. If you’re grilling something that requires a quick sear followed by longer cooking, such as thick cuts of steak, manage your heat by moving the food around. Remember, your grill is not just a cooking appliance; it’s a culinary tool that, with a little finesse, can deliver restaurant-quality results right in your backyard.
Dealing with Ash Buildup: easy Cleanup Tips for a Better Grill Experience
One of the less glamorous aspects of charcoal grilling is dealing with the inevitable ash buildup that can accumulate during your cookout. Fortunately, cleaning up doesn’t have to be a cumbersome task. Following a few simple tips can keep your grill in prime condition, ensuring a better grilling experience every time.
To make ash cleanup a breeze, consider these easy strategies:
- Invest in a good grill brush: A durable grill brush will help you remove ash and debris stuck to the grill grates effortlessly. Make it a habit to brush down the grates after each use.
- Use an ash vacuum: If you’re serious about keeping your grill spotless, an ash vacuum can be a game-changer. these specially designed vacuums can suck up ash without making a mess, saving you time and effort.
- Line your grill with aluminum foil: Before grilling, lining the bottom of your grill with aluminum foil provides an extra layer of protection. It catches most of the ash, making it easier to dispose of later.
- Regular maintenance schedule: Set a routine for deep cleaning your grill at the end of each grilling season. this way, you’ll avoid a hefty buildup and ensure it’s always ready for your next BBQ.
By making ash cleanup an integral part of your grilling routine, you’ll enhance not only the lifespan of your grill but also your overall cooking experience. Enjoy more delicious meals and less time scrubbing away the remnants of your last cookout!
Common Charcoal Problems and Quick Fixes: Troubleshooting Your Grill
Every grill master encounters their fair share of hiccups when working with charcoal. Whether you’re a seasoned pro or just starting, knowing how to troubleshoot common charcoal issues can elevate your cooking game. Here are some frequent problems and their easy fixes.
- Difficulties in Starting the Charcoal: If you find it tough to light your charcoal, it might be damp or old. Try using a chimney starter, which allows for better airflow and even ignition. If you’re in a pinch, consider using lighter fluid, but be sure to let it soak in for a few minutes before igniting.
- Uneven Heat Distribution: Struggling with hot and cold spots on the grill? This is often due to improper coal placement. Check to ensure the coals are spread out evenly, or create two heat zones by stacking coals on one side for intense heat and moving to the other side for indirect cooking.
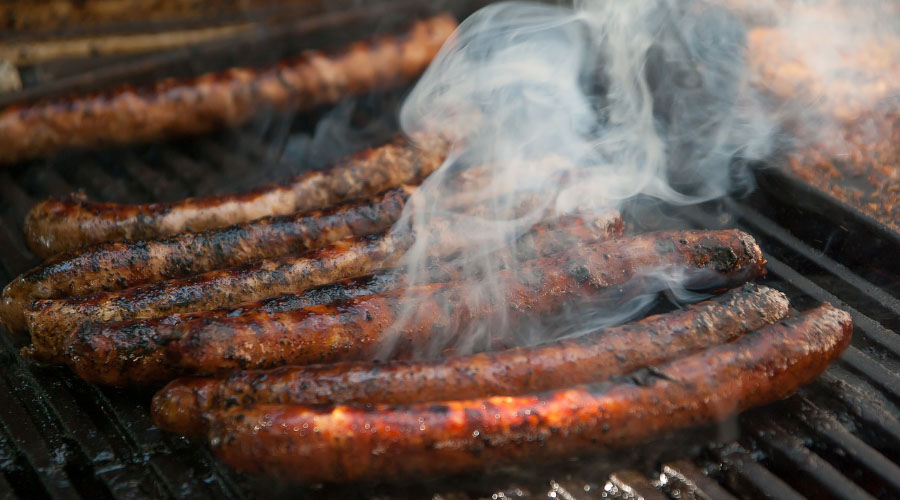
- Too Much Smoke: Excessive smoke usually means the charcoal is burning improperly. Make sure you’re using high-quality lump charcoal or briquettes, and avoid overloading your grill with too much wood. Keeping the vents partially open can help regulate airflow and smoke levels.
By recognizing these common issues and implementing these quick fixes, you’ll be well on your way to mastering your charcoal grilling technique. Always remember that practice makes perfect, and a little troubleshooting can go a long way!
Enhancing Flavor: Using Wood Chips and Other Tricks for Smoky Goodness
One of the best-kept secrets in grilling is the art of adding wood chips to your charcoal. These little flavor enhancers can transform your cooking experience, infusing your meats and veggies with a depth of smoky goodness that’s simply irresistible. Here’s how you can elevate your grilling game:
- Choosing the Right Wood: The type of wood you choose can significantly impact the desired flavor profile. for a sweeter, milder smoke, try fruitwoods like apple or cherry. For a bolder profile, hickory or mesquite can take your meats to a whole new level.
- Pre-soaking for Success: Before adding wood chips to your grill, soak them in water for at least 30 minutes. This prevents them from burning up too quickly and helps create a steady stream of smoke throughout your cooking process.
- Creating a Smoky Environment: You can place the soaked chips directly onto the hot coals or use a smoker box if your grill has one. If you’re using a gas grill, you can wrap the soaked chips in aluminum foil, poke some holes in it, and place it over the burners for a smoky kick.
Along with wood chips, there are other tricks that can enhance the flavors of your grilled dishes. Consider the following methods:
- Marinating Magic: Marinating your proteins not only adds flavor but also helps tenderize them. A simple mixture of oil, acid, and your favorite spices can work wonders.
- Spice It Up: Don’t underestimate the power of dry rubs! A good blend of spices can create a beautiful crust that locks in moisture and gives your meat that irresistible bark.
- Herbs and Citrus: Wrapping herbs or slices of citrus in your meat as it cooks can also impart a delightful aroma and flavor.Try rosemary, thyme, or lemon for a refreshing twist.
Experimenting with these techniques will not only refine your grilling skills but also impress your friends and family with your newfound smoky creations!
Maintaining Your Grill: Best Practices for Longevity and Performance
When it comes to ensuring your grill performs at its best, a little maintenance goes a long way. First and foremost, always clean your grill after each use. This means removing ash and leftover food debris, which not only helps prevent rust but also ensures great flavor in your next cook-up. A simple brush with a grill brush can make a world of difference.
Next, check your grill’s components regularly. Make it a habit to inspect parts like the burners, air vents, and charcoal trays for any wear and tear. Keep an eye out for any signs of rust or damage, and remember that replacing worn parts is crucial for safety and efficiency. Investing in high-quality charcoal can also improve performance, so choose types that burn evenly and provide a consistent heat.
Lastly, consider protecting your grill from the elements. If your grill is stored outside, a quality cover can shield it from rain and snow, prolonging its lifespan. Regular oiling of grates can help prevent sticking and rust. By following these easy practices, you’ll keep your grill in top shape, ensuring countless delicious meals for seasons to come!
Final Thoughts
That’s it! With these easy fixes in your grilling toolkit, you’re well on your way to mastering your charcoal game. Whether you’re dealing with uneven heat, stubborn flare-ups, or just trying to figure out how to make those perfectly juicy burgers, remember that every great grill master started somewhere. Don’t be daunted by mistakes—they’re simply part of the journey. So fire up that grill, invite some friends over, and get ready to impress with your newfound skills. And hey, don’t forget to drop by and share your grilling triumphs or your creative twists on classic recipes. happy grilling, and may your coals always be hot and your briquettes burn even hotter! 🍔🔥